How to Build a Zero-Touch Mockup Pipeline for High-Volume Print-on-Demand Shops Using an API
If you're running a print-on-demand shop with dozens or hundreds of SKUs, you already know that mockup creation is the silent productivity killer. You upload a design, open your mockup tool, drag things around, export the file, rename it, and repeat. Twenty times. Fifty times. Every single week.
At some point, that process stops being sustainable. You're not scaling your business, you're just doing digital assembly work.
The solution is a zero-touch mockup pipeline, a setup where new designs trigger mockup generation automatically, with no manual steps in between. This isn't just a nice-to-have for tech-savvy sellers. It's a practical, buildable system that any shop owner can put together with the right tools and a bit of one-time setup work.
This guide walks you through every layer of that pipeline: what it means, why it matters, what you need to build it, and how to connect it all together using Mockupanda's API.
What a Zero-Touch Pipeline Actually Means
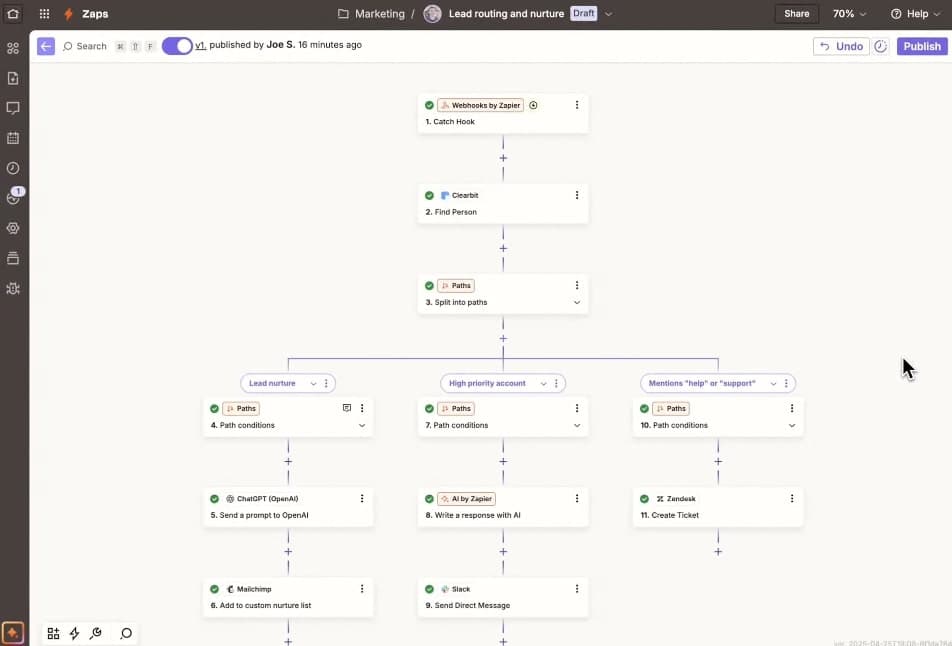
Before you start connecting tools, it helps to get clear on what you're actually building. A zero-touch pipeline is a system where a defined trigger, like a new design file being saved to a folder or a new product being added to your store, automatically kicks off the mockup generation process and delivers finished images to the right place, without you doing anything manually.
The Difference Between Batch and Automated
You may have already set up a repeatable batch workflow that lets you process a group of designs in one sitting. That's a huge improvement over one-at-a-time manual work, but it still requires you to initiate the process. You sit down, you run the batch, you get the output.
A zero-touch pipeline takes that further. You don't sit down at all. You upload a design and walk away. The system handles the rest.
The practical difference matters most when you're dealing with volume. If you're adding five designs a week, a batch workflow is probably fine. If you're adding fifty, or if you want to free yourself from even that level of involvement, automation is the upgrade you're looking for.
Who This Is Built For
This approach makes the most sense for sellers who are adding new designs regularly and want that process to run in the background, shops that work with a team or a VA and want consistent output without supervision, and anyone who has already felt the frustration of mockup creation becoming a bottleneck to actually listing products.
You don't need to be a developer. You do need to be comfortable with basic tools like Zapier or Make (formerly Integromat), and you need an API key from a mockup tool that supports programmatic requests. Mockupanda is built specifically for this kind of integration, with a clean API designed around the workflows of print-on-demand sellers.
Takeaway: Before building anything, write down exactly where the bottleneck is. Is it the act of creating mockups, or is it getting them into your listings? Knowing that shapes how you build the pipeline.
Understanding the API and What It Can Do
An API, or application programming interface, is essentially a way for two pieces of software to talk to each other. Instead of you opening a browser, clicking buttons, and dragging files, you send a structured request to the API and it does the work and sends back the result.
For mockup generation, this means you can tell the API: here is my design file, here is the template I want to use, here are my settings, and it will return a finished mockup image.
What the Mockupanda API Handles
The Mockupanda API accepts your design file, applies it to a chosen mockup template, and returns a finished image. You can specify the template, the placement, and other parameters in the request. This means every mockup your pipeline generates will be consistent with your brand settings, using the exact same frames, rooms, or scenes you've already selected.
The API is also built for volume. You're not limited to one-at-a-time requests. You can build your pipeline to send multiple designs through in parallel, which is what makes the zero-touch approach genuinely useful for high-volume shops.
Reading the API Documentation
You don't need to be a coder to use an API, especially when you're connecting it through a no-code tool like Zapier or Make. But you do need to understand the basic shape of a request: what fields are required, what format the design file needs to be in, and what the API returns.
Spend thirty minutes with the documentation before you start building. You want to know the endpoint URL (where you send your request), the authentication method (usually an API key you include in the request header), the required parameters (at minimum, your design file and template ID), and the response format (usually a URL pointing to the finished image).
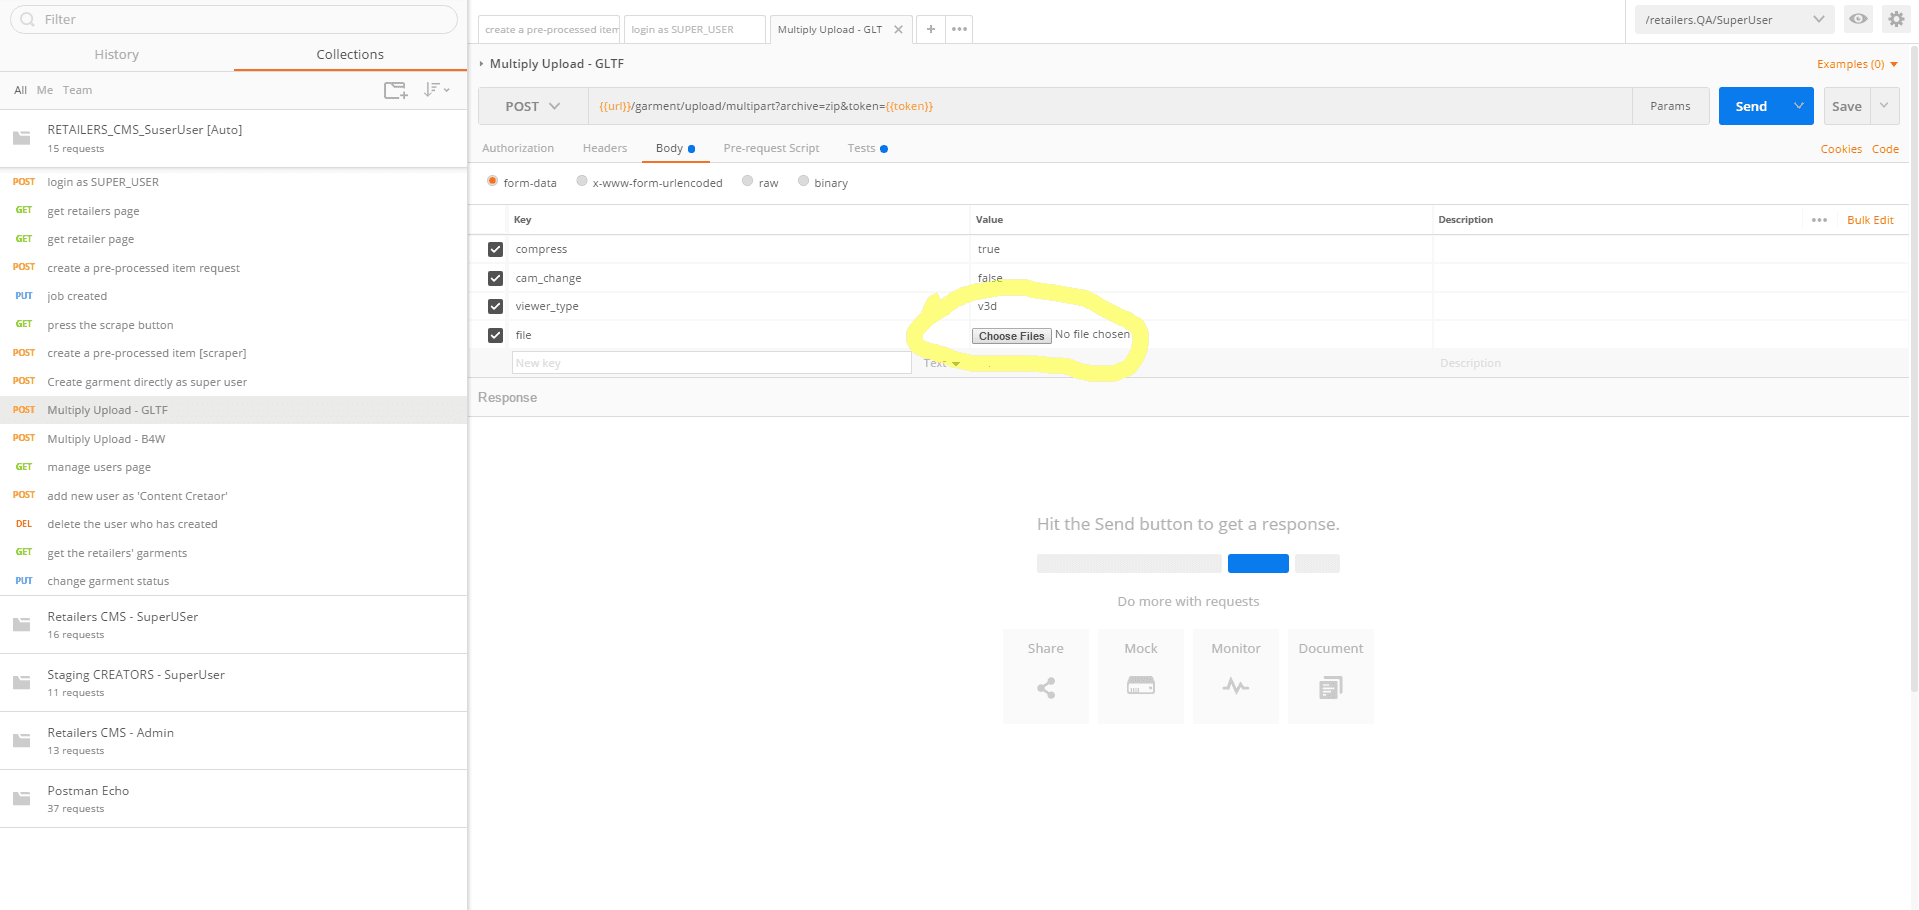
Most API calls for mockup generation follow the same basic pattern: you send a POST request with your design and settings, and you get back an image URL.
Takeaway: Get your API key and test a single manual API request using a free tool like Hoppscotch or Postman before building any automation. Seeing one successful request go through gives you confidence that the connection works before you invest time in the pipeline.
Designing Your Pipeline Architecture
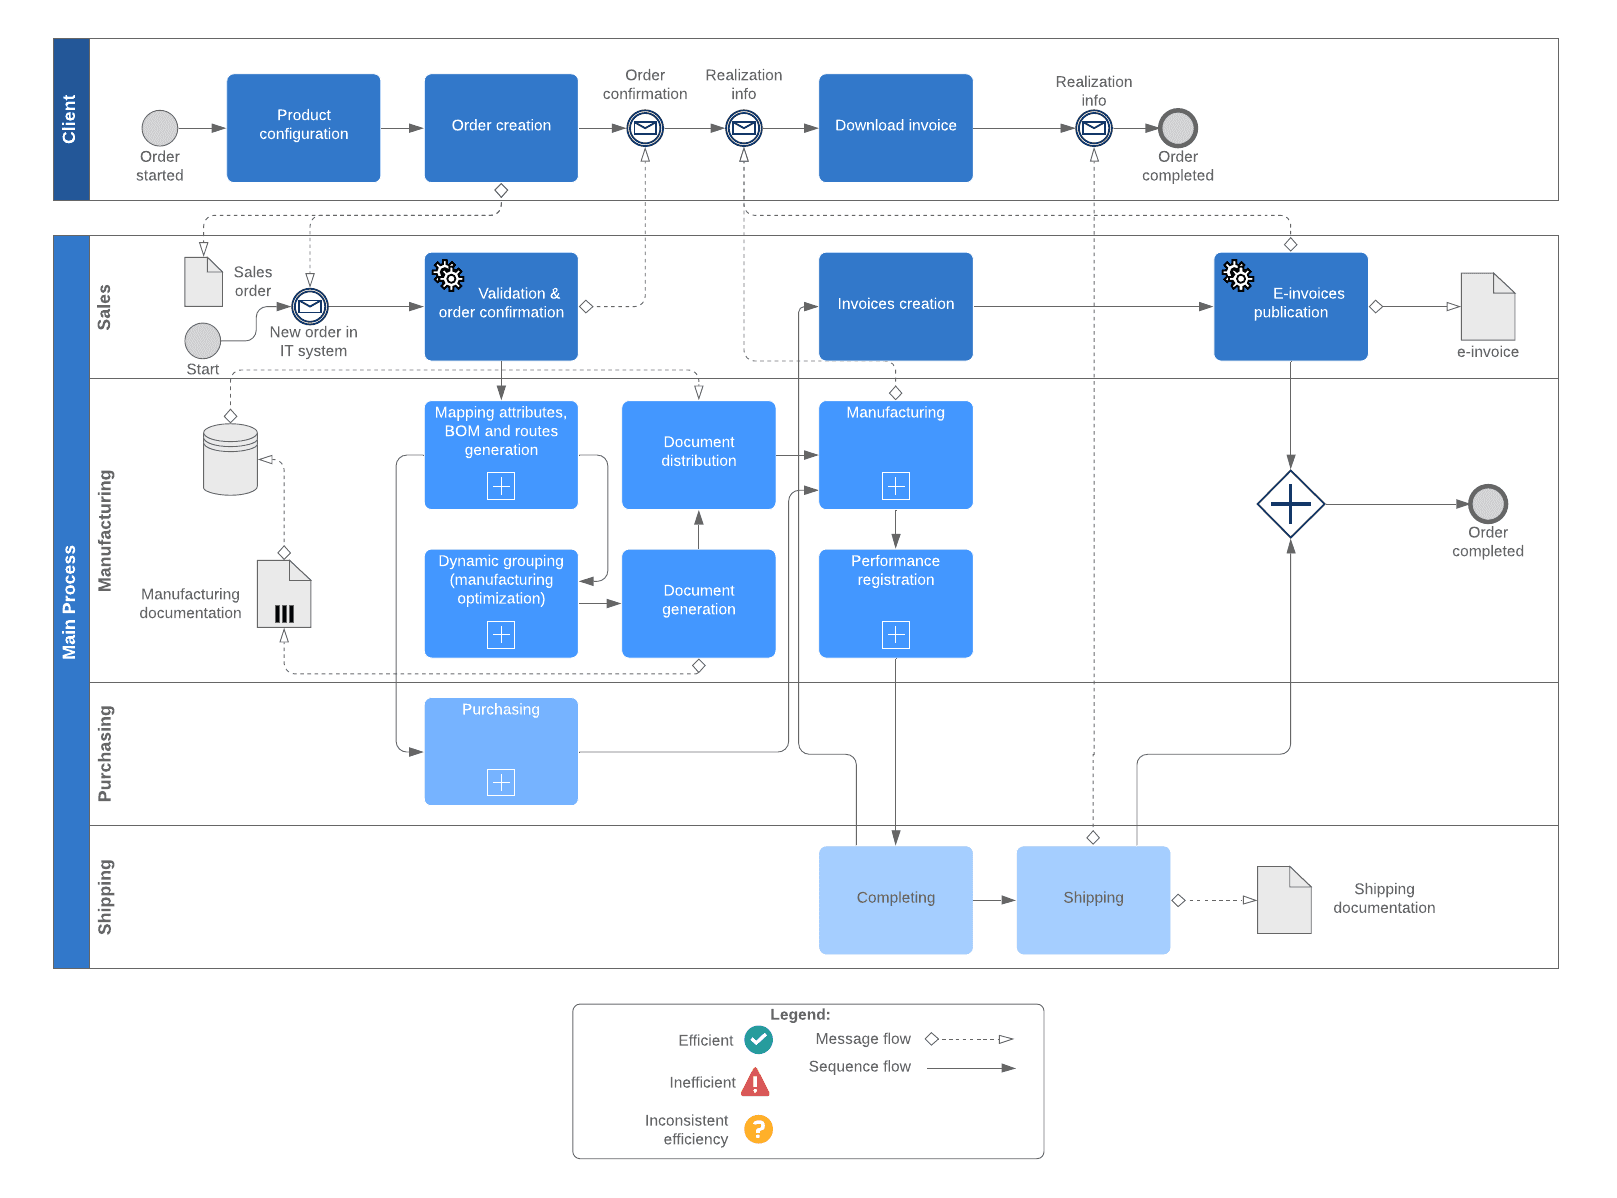
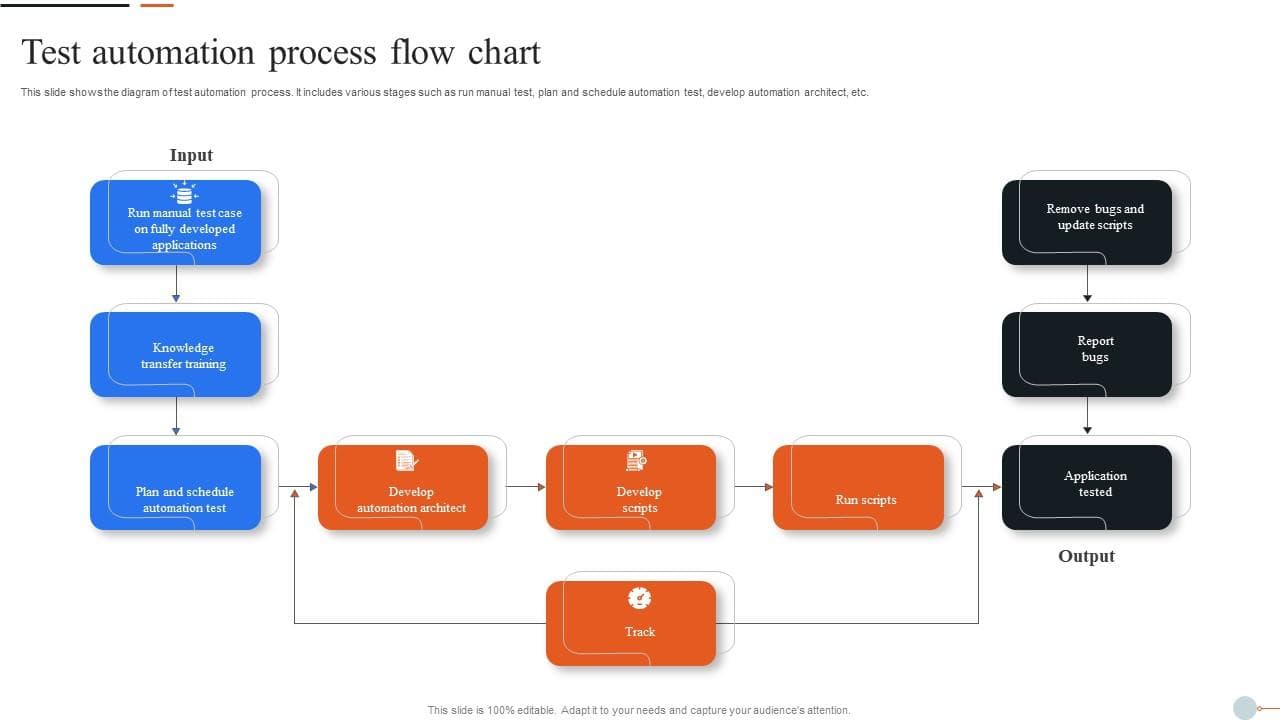
Once you understand what the API can do, the next step is mapping out the full pipeline from trigger to output. Every pipeline has three layers: the input, the processing, and the output.
The Input Layer: Where Designs Enter the System
Your input layer is where new design files arrive and where the pipeline starts. There are a few common options:
A watched folder in Google Drive or Dropbox is the simplest approach. When you (or your designer, or a VA) drops a new file into a specific folder, that triggers the pipeline. This works well if your design files come from multiple sources because anyone can drop files into the folder.
A form submission is another option. You build a simple form (using Typeform, Tally, or even a Google Form) where someone submits a design file and fills in details like the product type, the collection name, and which templates to use. This adds a small amount of friction upfront but gives you much richer data to work with downstream.
A new product in Shopify can also serve as the trigger. If you add a product to your store before adding images, the new product event can kick off the mockup generation and then automatically attach the finished images to the listing. This is the most seamless setup for Shopify sellers and connects naturally to automated product image workflows.
The Processing Layer: Connecting the Trigger to the API
This is where your automation tool, Zapier, Make, or a similar platform, lives. The job of this layer is to take information from the trigger, format it correctly for the API, send the request, and handle the response.
In practice, a Make scenario for mockup generation looks something like this: watch a Google Drive folder for new files, grab the file URL when a new file appears, send a POST request to the Mockupanda API with the file URL and your chosen template ID, wait for the response containing the finished image URL, and then pass that URL to the output layer.
You can add branching logic here too. If you tag design files with a collection name or product type, you can use that tag to route the design to different templates automatically. Summer prints go to bright, airy room scenes. Minimalist prints go to clean white frame mockups. The pipeline applies the right look without any manual decision-making.
The Output Layer: Where Finished Mockups Land
Your output layer is what happens with the finished mockup images. The three most useful destinations are a Google Drive or Dropbox folder organized by product, an Etsy or Shopify listing where images are attached directly, or a content calendar or project management tool like Airtable or Notion where the image is logged alongside product details.
For Etsy sellers, the output step usually involves downloading the finished mockup and uploading it to the relevant draft listing. For Shopify sellers, the API can attach images to products directly through the Shopify API, which means the mockup appears on the product page without any manual upload step.
Takeaway: Sketch your pipeline on paper before you build it in any tool. Draw three boxes: input, processing, output. Fill in each one with specifics. The clearer your map, the faster the build goes.
Building the Pipeline Step by Step
With your architecture mapped, you're ready to build. Here's how to put it together using Make as your automation platform, since it handles API calls more flexibly than Zapier for this kind of work.
Setting Up the Trigger
In Make, create a new scenario and add a Google Drive module set to watch for new files in a specific folder. Name the folder something clear, like "New Designs for Mockups." Set the module to trigger when a new file is added.
Test the trigger by dropping a real design file into the folder and running the scenario once manually. Make should pick up the file and show you the data it retrieved: the file name, the file ID, and a shareable link to the file.
If you're using a form as your input instead, the trigger module is a form watcher. If you're using Shopify, it's a Shopify module set to watch for new products.
Building the API Request Module
Add an HTTP module after your trigger. Set it to send a POST request to the Mockupanda API endpoint. In the headers, add your API key in the format the documentation specifies. In the body, map the design file URL from your trigger output and add your template ID and any other parameters.
Run the scenario again. If the request is correctly formatted, you'll get a response containing the URL of your finished mockup. Map that URL to a variable so the next module can use it.
This is also where you handle errors. Add an error handler that catches failed requests and logs them to a Google Sheet or sends you a Slack message. You want to know if a design didn't process, especially in a zero-touch system where you're not watching the pipeline run.
Connecting the Output
Add your output module after the API request. If you're saving to Drive, add a Google Drive module that downloads the image from the returned URL and saves it to an output folder with a sensible file name based on the original design file name.
If you're pushing to Shopify, add a Shopify module that attaches the image URL to a product. Match the product using a naming convention or a SKU that appears in both the design file name and the product record.
For Etsy, the most practical approach right now is to save to Drive and upload to listings in a weekly batch. Etsy's API is functional but has some quirks around image uploads, so a semi-automated approach (pipeline creates and organizes mockups, you batch upload them to listings in one session) is often more reliable than a fully automated one.
Takeaway: Build and test one module at a time. Don't try to wire up the full pipeline in one session. Confirm each step works before adding the next one.
Making the Pipeline Robust and Maintainable
A pipeline you built but can't maintain isn't really a solution. It's a fragile workaround waiting to break. Building for robustness from the start saves you a lot of pain later.
Naming Conventions Are the Foundation
Every automated system depends on consistent naming. Your design files need to follow a predictable naming pattern so the pipeline can extract useful information from the file name and route things correctly.
A simple convention like `[ProductType]-[CollectionName]-[DesignID].png` gives the pipeline everything it needs. The product type tells it which template to use. The collection name tells it which output folder to save to. The design ID ties it back to your product catalog.
Document this convention somewhere your whole team can see it. If a VA drops a file with a random name, the pipeline either fails or produces output that ends up in the wrong place.
Logging and Monitoring
Add a logging step to your pipeline that writes a row to a Google Sheet every time a mockup is generated. Log the design file name, the template used, the output image URL, and a timestamp. This gives you a running record of everything the pipeline has produced and makes it easy to troubleshoot when something goes wrong.
Set up a weekly digest so you can glance at what the pipeline processed without having to dig into the automation tool's history. A simple email summary or a Slack message with a count of processed files is usually enough.
Updating Templates Over Time
Your mockup templates will evolve. You'll want to switch to a new room scene for a seasonal collection, or you'll add a new product type that needs its own template. Build your pipeline so the template selection is driven by a lookup table, not hardcoded into the automation.
In practice, this means keeping a Google Sheet with two columns: product type and template ID. When the pipeline runs, it looks up the correct template ID based on the product type extracted from the file name. When you want to swap templates, you update the sheet, not the automation. No rebuilding required.
Takeaway: Treat your pipeline like a product, not a one-time project. Schedule a monthly fifteen-minute review to check the logs, verify the naming convention is being followed, and update any templates that need refreshing.
The Real Payoff: What Automation Unlocks
Building a zero-touch pipeline is a meaningful investment of time upfront, usually a few focused hours spread across a weekend. But the return on that investment compounds in ways that are hard to see until you're actually running it.
Time Reclaimed at Scale
If you're adding twenty designs a week and each mockup takes four minutes to create manually, that's eighty minutes of pure repetitive work every week. Over a year, that's more than sixty hours. A zero-touch pipeline turns that into zero minutes, every week, indefinitely.
The compounding effect is even more significant for high-volume shops. If you're running a shop with the kind of output described in batch mockup workflows for high-volume shops, automation isn't just a convenience, it's the thing that makes continued growth operationally possible without hiring more people.
Consistency Across Your Catalog
Manual mockup creation introduces variation. On a Tuesday morning when you're fresh and focused, you create perfect, beautifully placed mockups. On a Friday afternoon when you're tired and rushing, the placement is slightly off and the color balance looks different. Customers browsing your shop notice that inconsistency, even if they can't articulate why.
An automated pipeline produces identical output every time. Same placement, same templates, same color treatment. Your catalog looks like it was produced by a professional studio, not assembled file by file over eighteen months.
Faster Time to Listing
One of the hidden costs of manual mockup creation is the delay it introduces between a design being finished and a product being listed. If creating mockups is a task you batch once a week, designs can sit in a queue for days before they're ready to list. In a market where trends move fast, that delay has a real cost.
With a zero-touch pipeline, the mockup is ready within minutes of the design file being uploaded. You can move from design to listed product the same day, which matters more than most sellers realize when it comes to capturing trend-driven demand.
Takeaway: Calculate the time you currently spend on mockup creation per week and multiply it by fifty-two. That's the annual time cost you're eliminating. Use that number to justify the upfront investment in building the pipeline.
Getting Started Without Feeling Overwhelmed
If you've never built an automation before, this can feel like a lot. The honest answer is that it is a lot, the first time. But each piece is simpler than it looks, and you don't have to build everything at once.
Start with the smallest version: a watched Google Drive folder, a single API call to Mockupanda, and a finished mockup saved back to Drive. Get that working. Use it for a month. Then add the output step that organizes files into folders. Then add the template routing logic. Then add the Shopify or Etsy output.
Building incrementally means you have a working system at every stage, not a half-built one that doesn't do anything useful until it's complete.
And the first time you upload a design, walk away, and come back to find a finished professional mockup waiting for you, you'll understand exactly why this is worth the effort.
Keep reading
The Batch Mockup Checklist Every Print-on-Demand Seller Needs Before a Holiday Sales Season

How to Use the Mockupanda API to Auto-Generate Mockups Every Time You Upload a New Design to Your Print-on-Demand Store