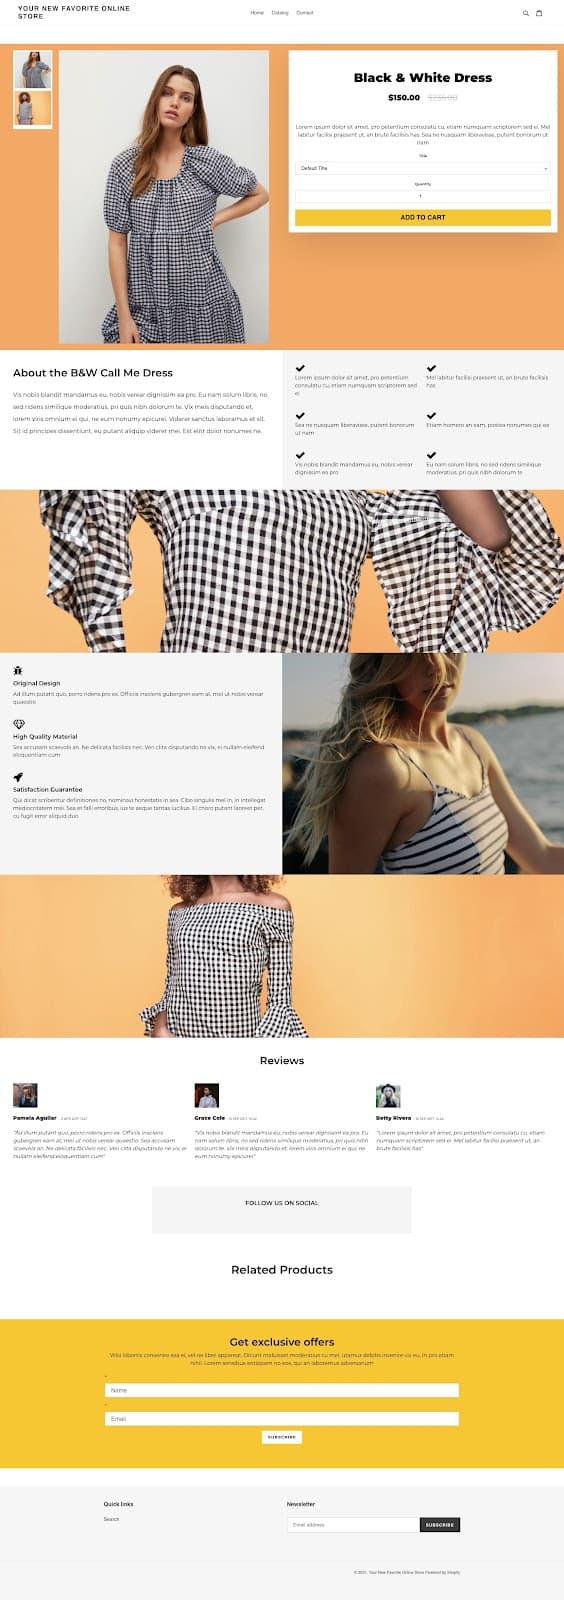
How to Connect a Mockup API to Your Shopify Store So New Product Listings Get Professional Images Automatically

If you run a print-on-demand or digital product shop on Shopify, you already know the drill. You finish a new design, upload it to your supplier or your files folder, then spend the next thirty minutes wrestling with mockup tools, downloading images one by one, resizing them, and manually uploading them to each product listing. Multiply that by ten new designs a week and you have just lost an entire workday to repetitive busywork.
There is a better way. By connecting a mockup API to your Shopify store, you can build a workflow where professional product images are generated and attached to listings automatically, without you touching a single file. This post walks you through how that works, what you need to set it up, and how to make it happen even if you are not a developer.
Why Automating Mockup Creation in Shopify Actually Matters
Before getting into the technical side, it is worth being clear about why this is worth your time to set up.
The Hidden Cost of Manual Mockup Work
Most sellers dramatically underestimate how much time they spend on product presentation. Creating a single polished mockup might take five to fifteen minutes if you are using a standard drag-and-drop tool. When you are launching new products regularly, that adds up fast. For a shop launching even twenty new products a month, you could be spending four to six hours on nothing but mockup creation.
That time is not just inconvenient. It is time you are not spending on design work, marketing, customer service, or growing your product catalog. Manual mockup workflows also introduce inconsistency. When you are doing things by hand, the quality varies depending on how much energy you have that day, and your shop ends up with a mix of image styles that feels disjointed to buyers.
What Automation Actually Changes
When your mockup generation is automated through an API connection, something shifts in how you operate your shop. You upload a design file, and within seconds or minutes, that design appears rendered in a professional room setting or frame mockup, already attached to your Shopify product listing. You go from spending an afternoon on launches to spending fifteen minutes.
More importantly, every product gets the same level of presentation quality. Your shop looks consistent, which builds trust with shoppers and lets you justify higher price points. Buyers are making purchase decisions based on your images, and polished, consistent visuals convert better than a mix of quick screenshots and amateur flat lays.
Mockupanda's API was built specifically to make this kind of automation accessible for print-on-demand sellers who are not running enterprise operations with full development teams.
Takeaway: Calculate how many hours per month you currently spend on mockup creation. That number is the time you get back when you automate this workflow.
Understanding How a Mockup API Works With Shopify
You do not need to be a developer to understand the mechanics here, and understanding them will help you make better decisions about how to set things up.
What an API Actually Does in Plain Language
An API is essentially a way for two software applications to talk to each other. When you connect a mockup API to Shopify, you are setting up a communication channel where Shopify can say "a new product was just added" and the mockup service can respond by generating the right images and sending them back to be attached to that product.
The mockup API takes your design file, places it into a pre-configured template (a framed print, a wall art scene, a poster on a shelf), renders the result as a high-resolution image, and returns that image via the API. Your Shopify store then receives that image and attaches it to the product automatically.
You configure the templates once. After that, every new design you upload follows the same process without any manual steps.
The Components You Need
For this kind of automation to work, you need a few things in place. First, you need a mockup service that offers a proper API, not just a web interface. Mockupanda offers an API specifically designed for print-on-demand workflows, with endpoints that accept your design files and return rendered mockup images.
Second, you need a way to trigger the API call when a new product is added to Shopify. This can be done through a custom integration if you have developer access, through a no-code automation platform like Zapier or Make (formerly Integromat), or through a custom Shopify app.
Third, you need a clear idea of which mockup templates you want to use for which product types. A poster might use a wall-mounted frame scene. A canvas print might use a living room lifestyle photo. Setting this up thoughtfully at the start saves you from generating the wrong images later.

Takeaway: You do not need to write code to make this work. No-code platforms like Zapier or Make can handle the connection between Shopify and a mockup API, and we will cover how to use them in the next section.
Setting Up the Connection: Step-by-Step
Here is a practical walkthrough of how to connect a mockup API to your Shopify store. This approach uses a no-code automation tool to bridge the two systems, which works well for most sellers without a dedicated developer.
Step One: Get Your API Credentials and Configure Your Templates
Start by signing up for Mockupanda and accessing the API section of your account. You will receive an API key that authenticates your requests. Keep this key private, it is like a password for your account.
Next, spend time in the Mockupanda interface setting up the mockup templates you want to use. Choose the frame styles, room scenes, or product contexts that match your brand. For each product type in your Shopify store, decide which template or templates you want images generated with. You might use two or three different mockup templates per product to give buyers multiple views.
Note down the template IDs for each template you plan to use. You will need these when you configure your automation workflow.
Step Two: Set Up a Shopify Webhook
Shopify has a webhook system that lets you trigger actions when specific events happen in your store. You want to trigger your mockup generation whenever a new product is created.
In your Shopify admin, go to Settings, then Notifications, then Webhooks. Create a new webhook for the "Product creation" event. Shopify will ask for a URL to send the webhook data to. This is where your automation platform comes in.
If you are using Make or Zapier, you will create a new scenario or zap that starts with a webhook trigger. The platform gives you a unique URL that you paste into the Shopify webhook field. When Shopify fires the webhook, your automation wakes up and starts running.
Step Three: Build the Automation Workflow
Inside your automation platform, after the webhook trigger, you set up the following steps.
First, parse the incoming product data from Shopify to extract the product ID, the product title, and the image URL of the design file you uploaded. This gives you the raw ingredients your mockup API needs.
Second, make an API call to Mockupanda. You will send the design image URL and the template ID you want to use. The API returns a rendered mockup image URL or file.
Third, use Shopify's product image API to upload the returned mockup image and attach it to the correct product using the product ID you captured in the first step.
If you want multiple mockup images per product, you repeat the second and third steps with different template IDs. Most automation platforms make it straightforward to run these in sequence.
The Mockupanda API auto-generation workflow covers the API call structure in detail if you want to go deeper on the technical parameters.
Takeaway: Map out your workflow on paper before building it in your automation tool. Know exactly which templates map to which product types, and have your API key and template IDs ready before you start clicking.
Handling Edge Cases and Making the Workflow Reliable
Automation is only valuable if it works consistently. A few things can go wrong, and knowing about them in advance saves you debugging time.
What to Do When Products Have Multiple Variants
Shopify products often have variants, different sizes or color options. Your design file might be the same across all variants, or you might have different artwork for different variants. Think through how your product structure works before you build the automation.
For products where the same design applies to all variants, your automation can treat the product as a single unit and generate mockups from the main product image. For products where variants have different designs, you may need to trigger mockup generation at the variant level rather than the product level, which requires a slightly more complex workflow.
Start simple. Build the workflow for your most common product type first, get it working reliably, then add complexity for edge cases.
Managing Image Quality and File Formats
Mockup APIs generally work best with high-resolution source files. If you are uploading low-resolution design files to Shopify as your source images, the mockups generated from them will reflect that quality. Make sure your design files are at least 300 DPI at the intended print size before they enter the workflow.
Also check what file formats your mockup API accepts. Most accept JPG and PNG. If your designs are in vector formats like SVG or AI, you will need to export a high-resolution raster version before the API can process them.

Takeaway: Test your automation with a few dummy products before relying on it for real launches. Check that the output images are attached correctly, look sharp, and appear in the right order on the product listing.
Organizing Your Mockup Templates for Different Product Categories
One of the bigger decisions you will make is which mockup templates to assign to which types of products. Getting this right makes your shop look intentional and professional.
Matching Templates to Product Types
Not every mockup template works for every product. A minimalist line art print looks great in a thin black frame in a modern interior. A bold typography poster might look better in an industrial or Scandinavian-style room scene. A botanical print calls for a warm, natural setting.
Group your products into categories and decide on one to three mockup templates per category. When you build your automation workflow, you can use conditional logic to check the product type or a product tag and route it to the correct template group.
For example, you might tag all your botanical prints with "botanical" when you add them to Shopify. Your automation workflow checks for that tag and sends the product to the templates you have set up for that category. A different tag routes to a different set of templates. This keeps your mockup output on-brand across collections without you having to think about it each time.
Keeping Your Template Library Maintained
Templates are not set-and-forget forever. Seasonal trends change, and what felt fresh six months ago might look dated now. Schedule a quarterly review of your mockup templates to make sure they still reflect how you want your shop to look.
Also keep notes on which templates perform best. If you have access to Shopify analytics and can track which product images shoppers are engaging with, you can gradually shift your automation toward the template styles that convert better.
Takeaway: Use Shopify product tags as a routing system in your automation workflow so that different product categories automatically get the right mockup templates without any manual sorting.
Testing, Monitoring, and Improving Your Automated Pipeline
Setting up the automation is the start, not the finish. A reliable pipeline needs occasional attention.
How to Test Before Going Live
Before you trust this workflow with real product launches, run a series of test products through it. Create a test product in Shopify with a draft status, upload a design image, and let the automation trigger. Check that the mockup images are generated, that they look correct, and that they appear attached to the right product.
Test with different design sizes and orientations. A landscape design and a portrait design will render differently in some templates. Make sure your workflow handles both gracefully, or set up separate template assignments for each orientation.
Also test what happens when something goes wrong. What if the mockup API is temporarily unavailable? Does your automation platform handle the failure gracefully, or does it silently skip the step? Set up error notifications so you know when a product has been created without mockups being attached.
Monitoring Performance Over Time
Once your pipeline is live, check in on it regularly. Most automation platforms keep logs of recent runs. Review these logs weekly at first, then monthly once you are confident the workflow is stable.
Pay attention to how long the end-to-end process takes. From the moment you create a product in Shopify to the moment the mockup images appear, how many minutes pass? This varies depending on API response times and how your automation platform queues tasks, but it should generally be under ten minutes for a simple workflow.
If you are scaling up and launching products at high volume, consider whether your current setup can handle the load, or whether you need to adjust your API call frequency.
Takeaway: Set up error alerts in your automation platform from day one. You want to know immediately when a product listing goes live without its mockup images, not when a customer points it out.
Making the Most of Your Automated Mockup Workflow
Once the technical setup is working, the bigger opportunity is in how you use the time and consistency this workflow creates.
You can now launch products faster, which means more listings in your Shopify store without more hours worked. You can experiment with new product ideas without the mockup creation step being a bottleneck. You can maintain a consistent visual brand across your entire catalog, which builds trust with repeat buyers.
If you also sell on Etsy, a similar logic applies to keeping that shop visually consistent. The same design files that feed your Shopify automation can be used to generate mockups for your Etsy listings through batch workflows.
The sellers who build these kinds of automated systems are not necessarily the ones with the biggest design budgets. They are the ones who recognized early that their time was worth protecting, and that the tools exist to make professional presentation automatic rather than manual.
Mockupanda was built with exactly this kind of workflow in mind: a tool designed around the real constraints of print-on-demand sellers, not the needs of enterprise teams with dedicated designers. If you are ready to stop manually creating mockups for every product launch, starting with the API integration is the highest-leverage move you can make for your shop right now.
Keep reading
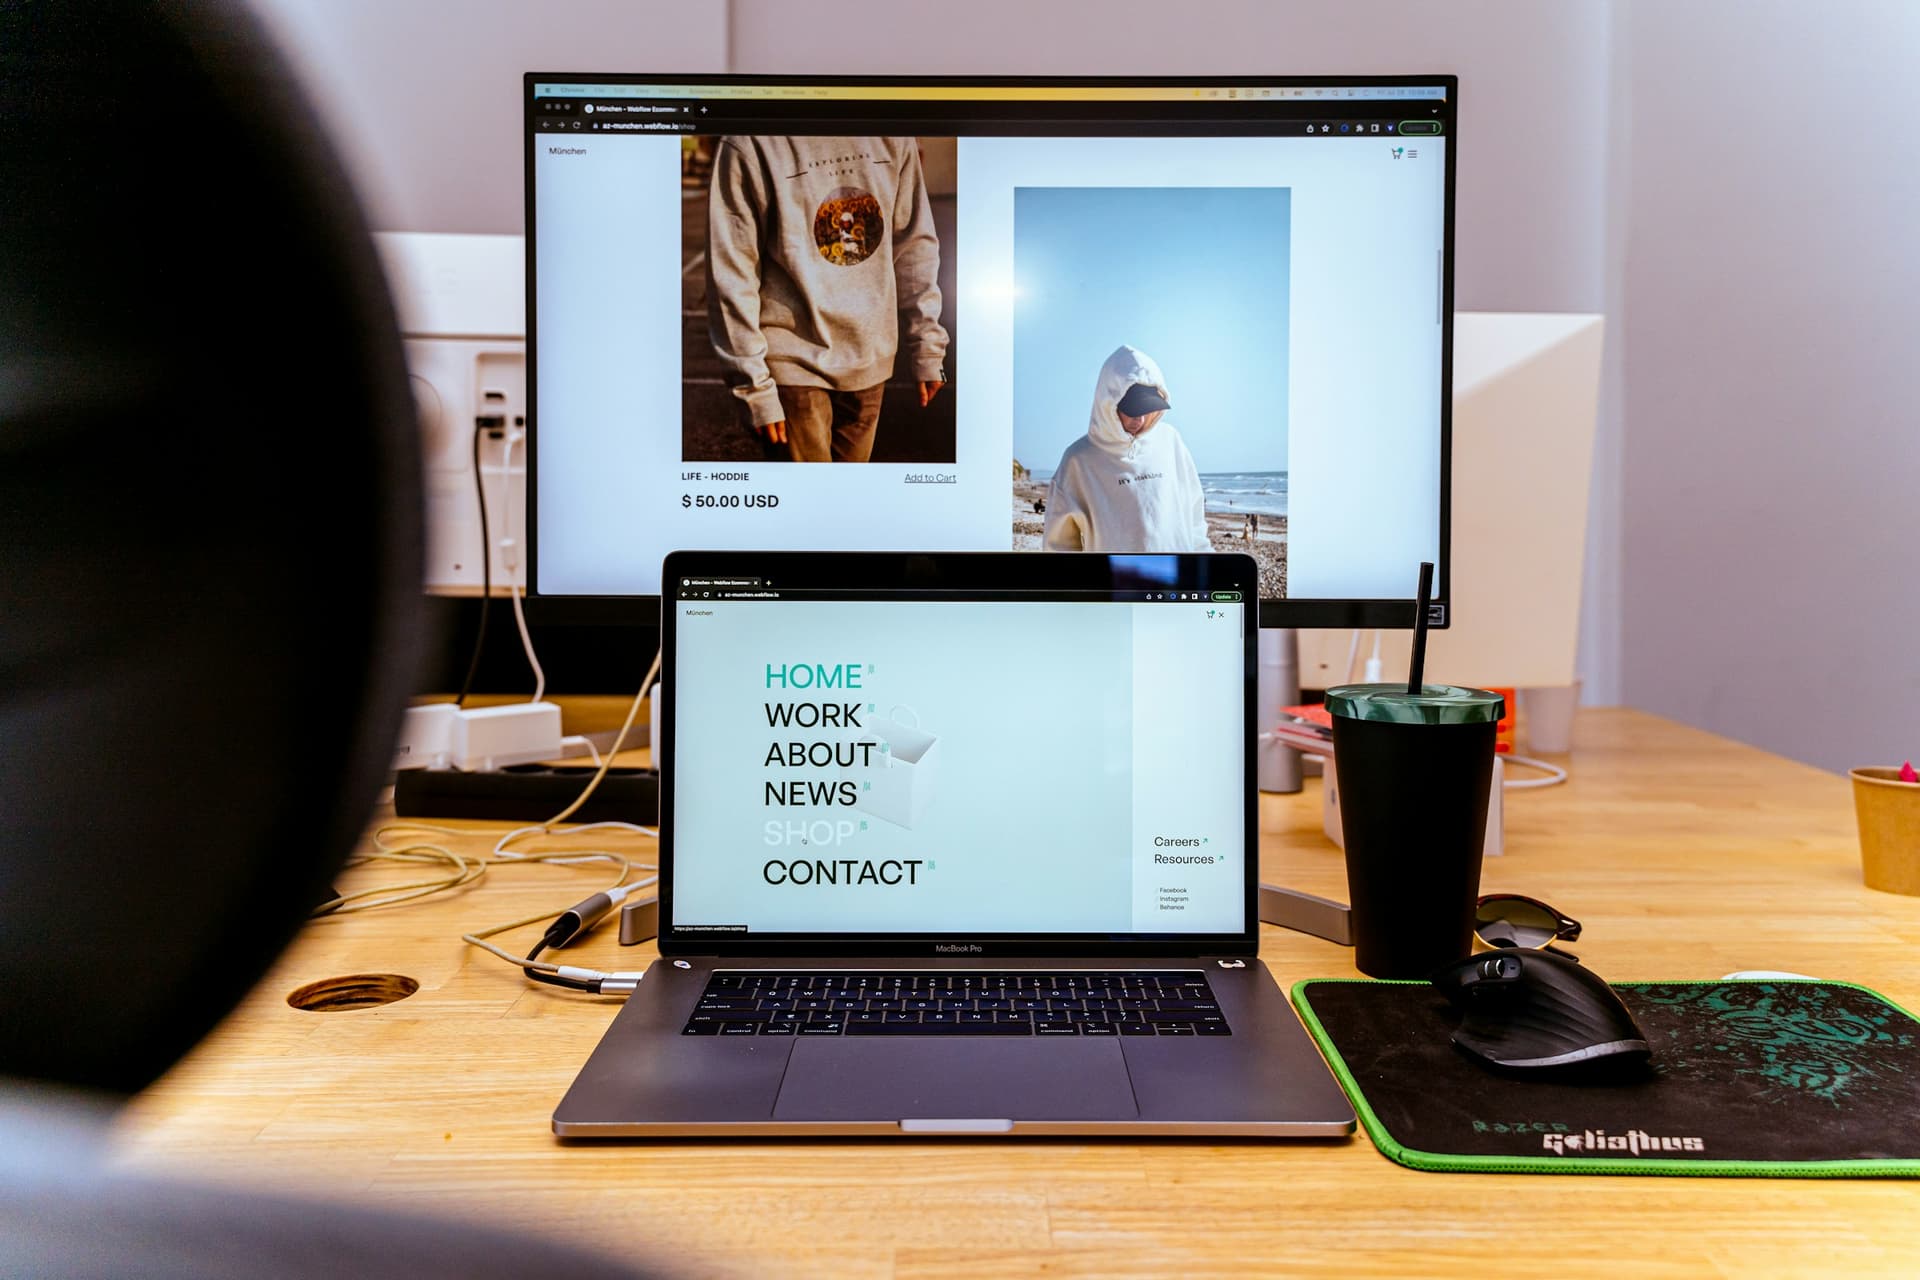
How to Use a Shopify Mockup Generator to A/B Test Product Images and Find the One That Actually Converts
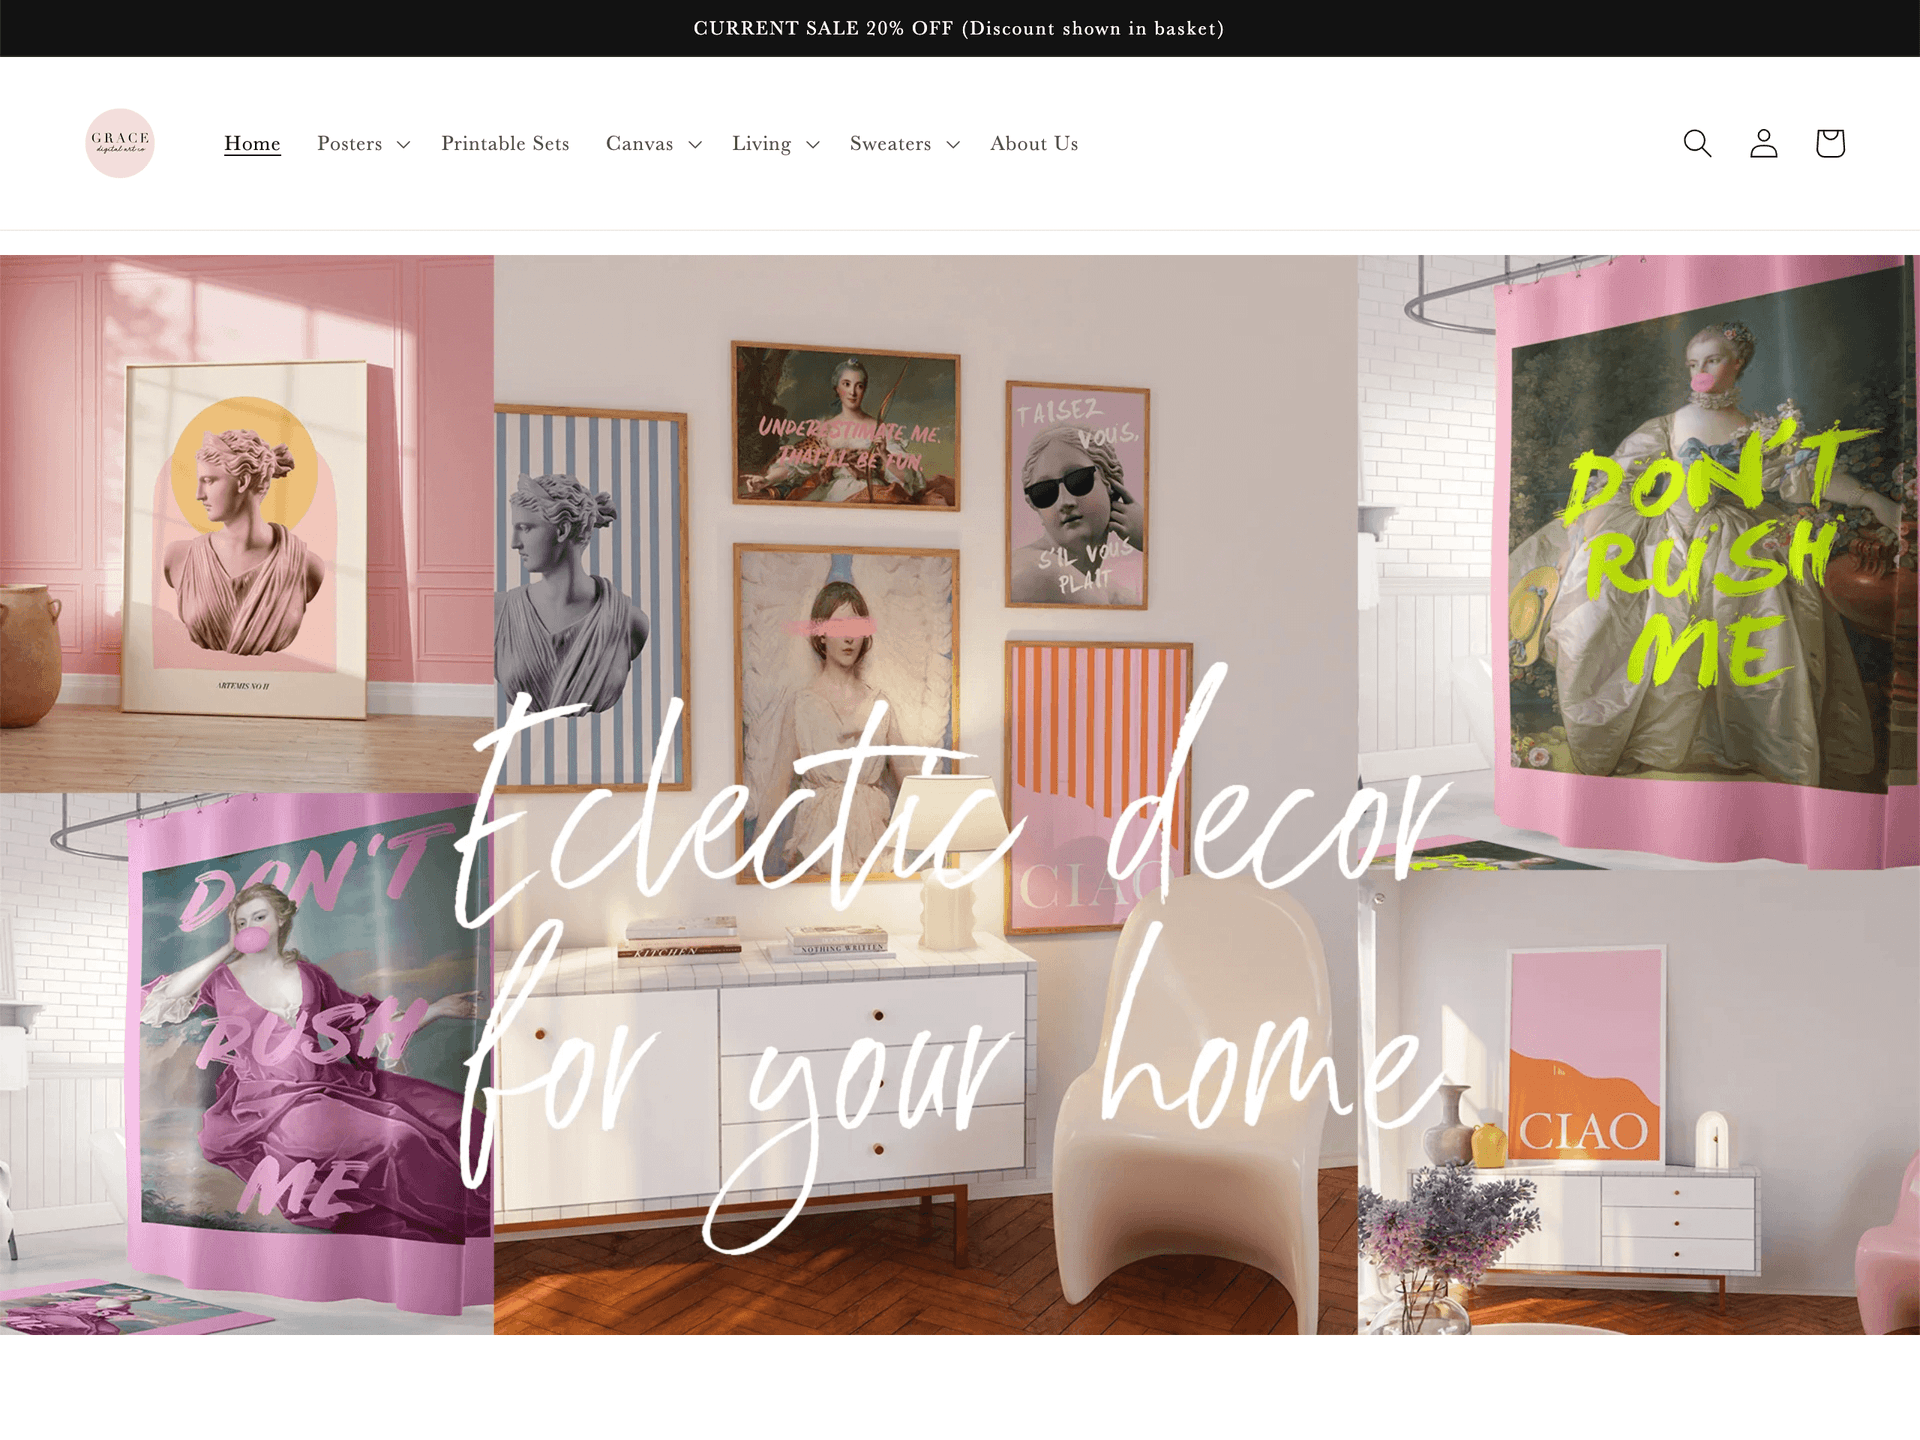
Why Shopify Print-on-Demand Stores With Consistent Mockup Styles Across All Products Get More Repeat Buyers