How to Use a Shopify Mockup Generator to A/B Test Product Images and Find the One That Actually Converts
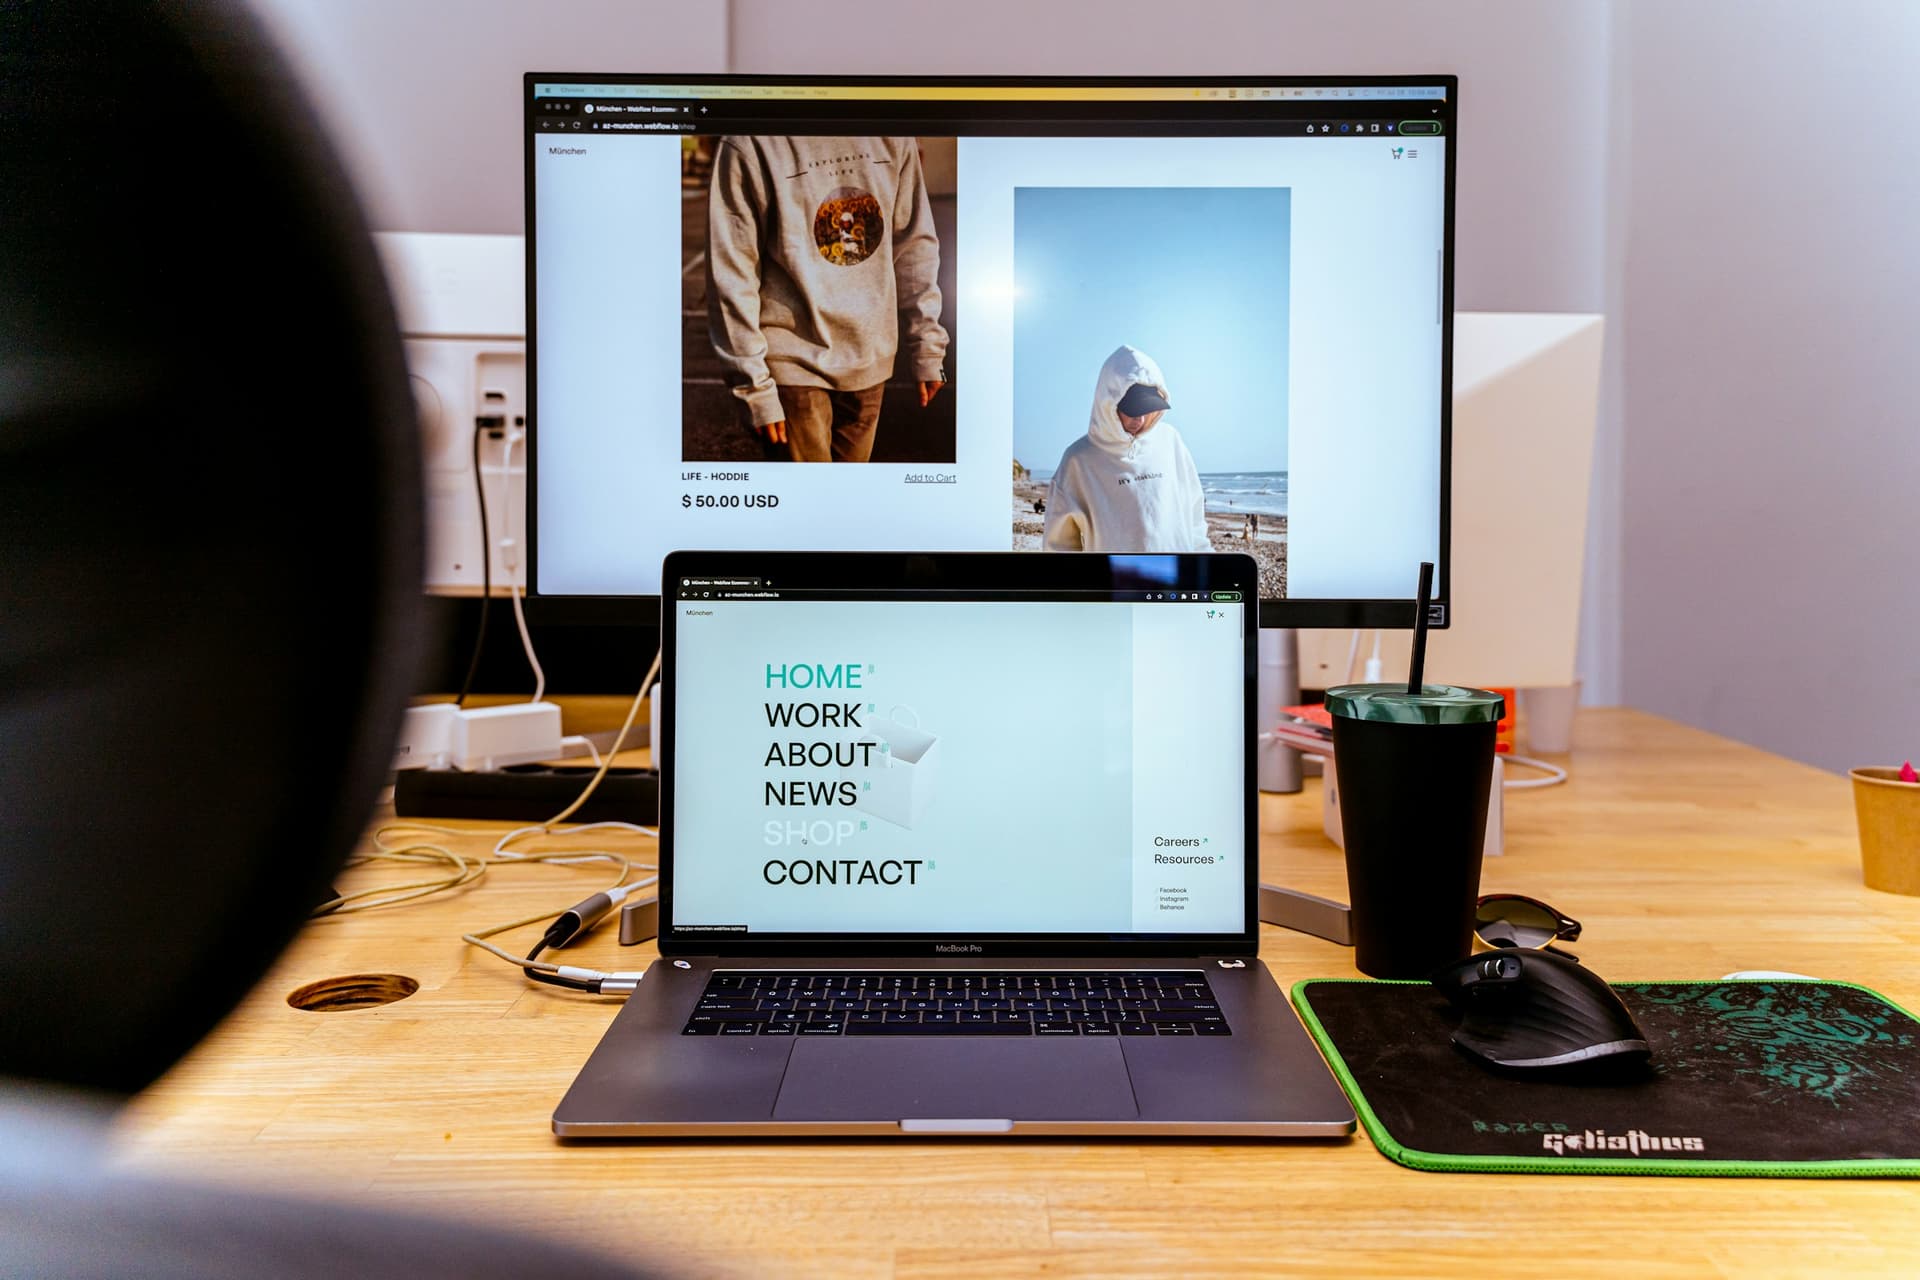
Most Shopify sellers pick a product image because it looks nice. Maybe they spent thirty minutes choosing between two mockups, went with their gut, and moved on. That is not a strategy. That is a guess.
Here is the thing about guessing: sometimes you guess right, but you never know why, so you cannot repeat it. And in a competitive print-on-demand market, the sellers who grow consistently are the ones who have a repeatable process for finding what works, not the ones with the best taste.
A/B testing your product images is that process. And with the right Shopify mockup generator, running those tests is actually straightforward, even if you have never done any kind of conversion optimization before.
This guide covers everything you need to know: what to test, how to set it up properly, what the numbers actually mean, and how to build a testing habit that keeps improving your store over time.
Why Product Images Are the Highest-Leverage Thing to Test in a Print-on-Demand Shop
The image is doing most of the selling
When someone lands on your Shopify product page, they are not reading your description first. They are looking at your image. That first impression determines whether they stick around long enough to read anything at all.
For digital prints and wall art, this is even more true. Your customer cannot touch the product. They cannot hold it up against their wall. The mockup is the closest thing to a real-life preview they are going to get, which means the quality, style, and context of that image carries enormous weight in their buying decision.
A better image can improve your conversion rate without changing your price, your SEO, your ad spend, or anything else. That is why it is the highest-leverage place to start testing.
Small conversion gains compound fast
Let's say your product page converts at 2%. You run a test and find an image that pushes that to 2.8%. That is a 40% increase in revenue from the same traffic. No extra ad spend. No price changes. Just a better image.
Multiply that across ten or twenty products in your shop, and you are looking at a meaningfully different business. That is the compounding power of systematic image testing.
Most sellers are leaving this on the table
The majority of Shopify print-on-demand sellers never test their images at all. They set and forget. That means if you build a testing practice, even a simple one, you are doing something most of your competitors are not. That gap adds up.
Takeaway: Commit to treating your product images as a variable to be optimized, not a one-time decision. The ROI on this habit is as high as anything else you can do in your shop.
What to Actually Test: The Variables That Move the Needle
Room context versus flat or minimal backgrounds
The most impactful variable for wall art and digital prints is almost always context. A mockup that shows your print hanging in a styled living room gives the customer a sense of scale, a feeling of aspiration, and a concrete answer to the question: what would this look like in my home?
A flat lay or plain background mockup can feel cleaner and more editorial, but it often fails to help the customer visualize the product in their space.
This does not mean room context always wins. Some audiences and some print styles respond better to minimal presentations. A high-contrast abstract print on a white background can feel bold and intentional. The only way to know which works for your specific product and audience is to test it.

Single image versus lifestyle sequence
Shopify lets you show multiple images per product. How you order those images, and what the first (hero) image is, matters a lot. The hero image is what shows in search results, collection pages, and social shares.
One test worth running is whether a single strong hero image outperforms leading with a zoomed-in detail shot. Another is whether your first image should show the full framed piece in a room, or just the print itself.
The order and number of mockups on your product page is itself a conversion variable, and the testing framework in this post applies to those decisions too.
Frame and finish variations
If you sell the same print in multiple frame styles or finishes, test whether showing the premium option first increases perceived value, or whether it creates sticker shock. Sometimes showing the base product first and letting the customer upgrade in their mind is more effective. Sometimes showing the aspirational version first anchors the price and makes everything feel worth it.
Takeaway: Start your testing backlog with three hypotheses: room context versus minimal background, hero image style, and presentation of your most premium variant. These are the variables most likely to produce a meaningful lift.
How to Set Up a Proper A/B Test on Shopify
Use a tool that actually randomizes traffic
Shopify does not have native A/B testing built in, so you need a third-party app. The most commonly used options for product image testing are Google Optimize (though it is being sunset, so check current availability), Neat A/B Testing, and Shoplift. For image-specific tests, Shoplift is worth looking at because it handles product-level splits cleanly.
What you want is true traffic randomization: half your visitors see Image A, half see Image B, and neither group knows they are in a test. Cookie-based splits work well here because they keep the same visitor seeing the same version across multiple sessions, which gives you cleaner data.
Create your test images before you set anything up
This is where your mockup workflow matters. You need at least two polished, production-ready images before you launch a test. Not rough drafts. Not placeholders. Real images you would be confident putting live in your shop.
With a tool like Mockupanda, you can generate multiple styled mockups for the same print in a few minutes, which means spinning up test variants is fast. You are not waiting on a designer or spending an hour in Photoshop to get two options ready.
For each test, document your hypothesis before you start. Write down: I believe that [Image B] will outperform [Image A] because [reason]. This discipline keeps you from cherry-picking results later.
Define your success metric upfront
The obvious metric is add-to-cart rate or conversion rate (purchases divided by sessions). But depending on your traffic volume, you might also look at click-through rate from collection pages if you are testing hero images, or time on page if you are testing engagement with lifestyle versus minimal images.
Choose one primary metric before you launch. Do not go hunting for a secondary metric to justify a result you wanted.
Takeaway: Set up your testing tool, prepare both image variants at full production quality, write your hypothesis down, and commit to one primary metric. Do all of this before you go live.
Reading Your Results Without Second-Guessing Yourself
Statistical significance is not optional
This is where most people go wrong. They run a test for a week, see that Image B has a 3.1% conversion rate versus Image A's 2.8%, and declare a winner. But if you only had 200 sessions in that test, that difference is almost certainly noise.
Most A/B testing tools will show you a confidence level or statistical significance score. You want to see at least 95% confidence before acting on a result. That means if you ran the same test 100 times under the same conditions, 95 of those times you would see Image B win. Below that threshold, you are just looking at randomness.
As a rough rule of thumb for low-traffic Shopify stores, you need at least 300 to 500 sessions per variant, and ideally more, before the numbers stabilize.

What to do when traffic is too low for clean tests
If your store is newer or your product pages do not get enough daily traffic to reach significance in a reasonable timeframe, you have a few options.
First, you can consolidate. Instead of testing one product, roll out the new image across all similar products simultaneously and compare performance over a longer window. This is not a true A/B test, but it is a directional signal.
Second, you can drive paid traffic to the test to accelerate it. Even a small ad budget pointed at your test page can get you to significance in days rather than months.
Third, you can use qualitative signals. Heatmaps (from tools like Hotjar or Microsoft Clarity) can show you how visitors are engaging with each image variant, which gives you directional data even without a statistically significant conversion lift.
How to handle inconclusive results
Sometimes a test runs to significance and the answer is: there is no meaningful difference. Image A and Image B perform essentially the same.
That is not a failed test. That is useful information. It tells you that the variable you tested does not matter much for your audience, and you should test something else. Inconclusive results narrow your hypothesis space and save you from chasing variables that do not move the needle.
Takeaway: Do not call a winner until you hit 95% confidence and at least 300 sessions per variant. If results are inconclusive, that is a data point, not a failure.
Building a Testing Rhythm That Compounds Over Time
Run one test at a time, finish it, then move on
It is tempting to run multiple tests simultaneously across different products. Resist this. When tests overlap, it becomes very hard to attribute cause and effect. If your conversion rate jumps, you will not know which test drove it.
Run one test on one product, reach significance, document the result, implement the winner, and then move to the next test. This is slower in the short term but far more reliable in the long term.
Once you have tested your top five products and found winners, you will have a clear pattern of what works for your specific audience. At that point, you can apply those learnings to new products without running full tests on each one, which speeds up your whole workflow significantly.
Keep a testing log
Create a simple spreadsheet with columns for: product tested, hypothesis, variant A description, variant B description, traffic per variant, conversion rate per variant, confidence level, result, and date. This takes five minutes per test to fill in.
Over six months, you will have a reference document that tells you exactly what your audience responds to. That knowledge is proprietary. No competitor can replicate it. And because your Shopify mockup generator makes it fast to produce new variants, you can keep feeding this process without it becoming a burden.
Revisit old winners periodically
Customer preferences shift. What worked eighteen months ago might not be the best option today. Plan to re-test your top products once or twice a year, especially if your product line has evolved, your traffic sources have changed, or you have noticed a general dip in conversion rates.
A/B testing is not a one-and-done project. It is a practice.
Takeaway: Build a simple testing log, run tests sequentially rather than simultaneously, and schedule periodic re-tests for your best-performing products.
How to Generate Test Variants Quickly Without Slowing Down Your Workflow
Batch your mockup creation
The biggest friction point in running regular image tests is the time it takes to produce new variants. If creating a new mockup takes an hour, you are going to skip tests or cut corners on quality. If it takes five minutes, you will actually do it.
For high-volume print-on-demand sellers, this is exactly why the mockup generation workflow matters so much. When you can batch-generate multiple styled mockups for a product in one session, the creative cost of running a test drops to almost nothing. You are generating your A variant and your B variant in the same workflow, with no extra effort.
Keep a library of mockup styles you have already tested
As you run more tests, you will discover that certain mockup styles consistently outperform others for your shop. Maybe your audience loves warm, Scandinavian-style room scenes. Maybe they respond better to bright, airy kitchens over dark moody living rooms.
Document those findings and tag your mockup library accordingly. Over time, you are not starting from scratch on every new product. You are pulling from a curated set of proven performers and testing at the margin rather than from zero.
Use automation for new listings
Once you have identified your best-performing mockup styles, you can automate their application to new products. If you have ever looked into connecting a mockup API to your store so new listings get professional images automatically, this is exactly where that kind of automation pays off. You roll new products out with your proven baseline image, and then test against it from there.
Takeaway: Reduce the friction of creating test variants by batching your mockup production, building a tested-and-proven style library, and looking into automation for your baseline image workflow.
The Mindset Shift That Makes All of This Work
The sellers who get the most out of image testing are the ones who stop thinking of their product pages as finished. Every page is a hypothesis. Every image is a question you are asking your traffic: does this help you buy?
Your mockup generator is not just a production tool. It is a testing tool. When you can spin up a new variant quickly, stay disciplined about your test setup, and trust your data over your gut, you start compounding improvements in a way that most of your competitors never will.
The good news is that the bar is low. Most Shopify print-on-demand sellers are not testing at all. If you run four tests this quarter and implement the winners, you are already ahead.
Start with your best-selling product. Form a hypothesis. Generate two clean variants with a tool like Mockupanda. Set up your test. Wait for significance. Document the result. Then do it again.
That is the whole system. Simple to describe, powerful in practice, and available to you right now.
Keep reading
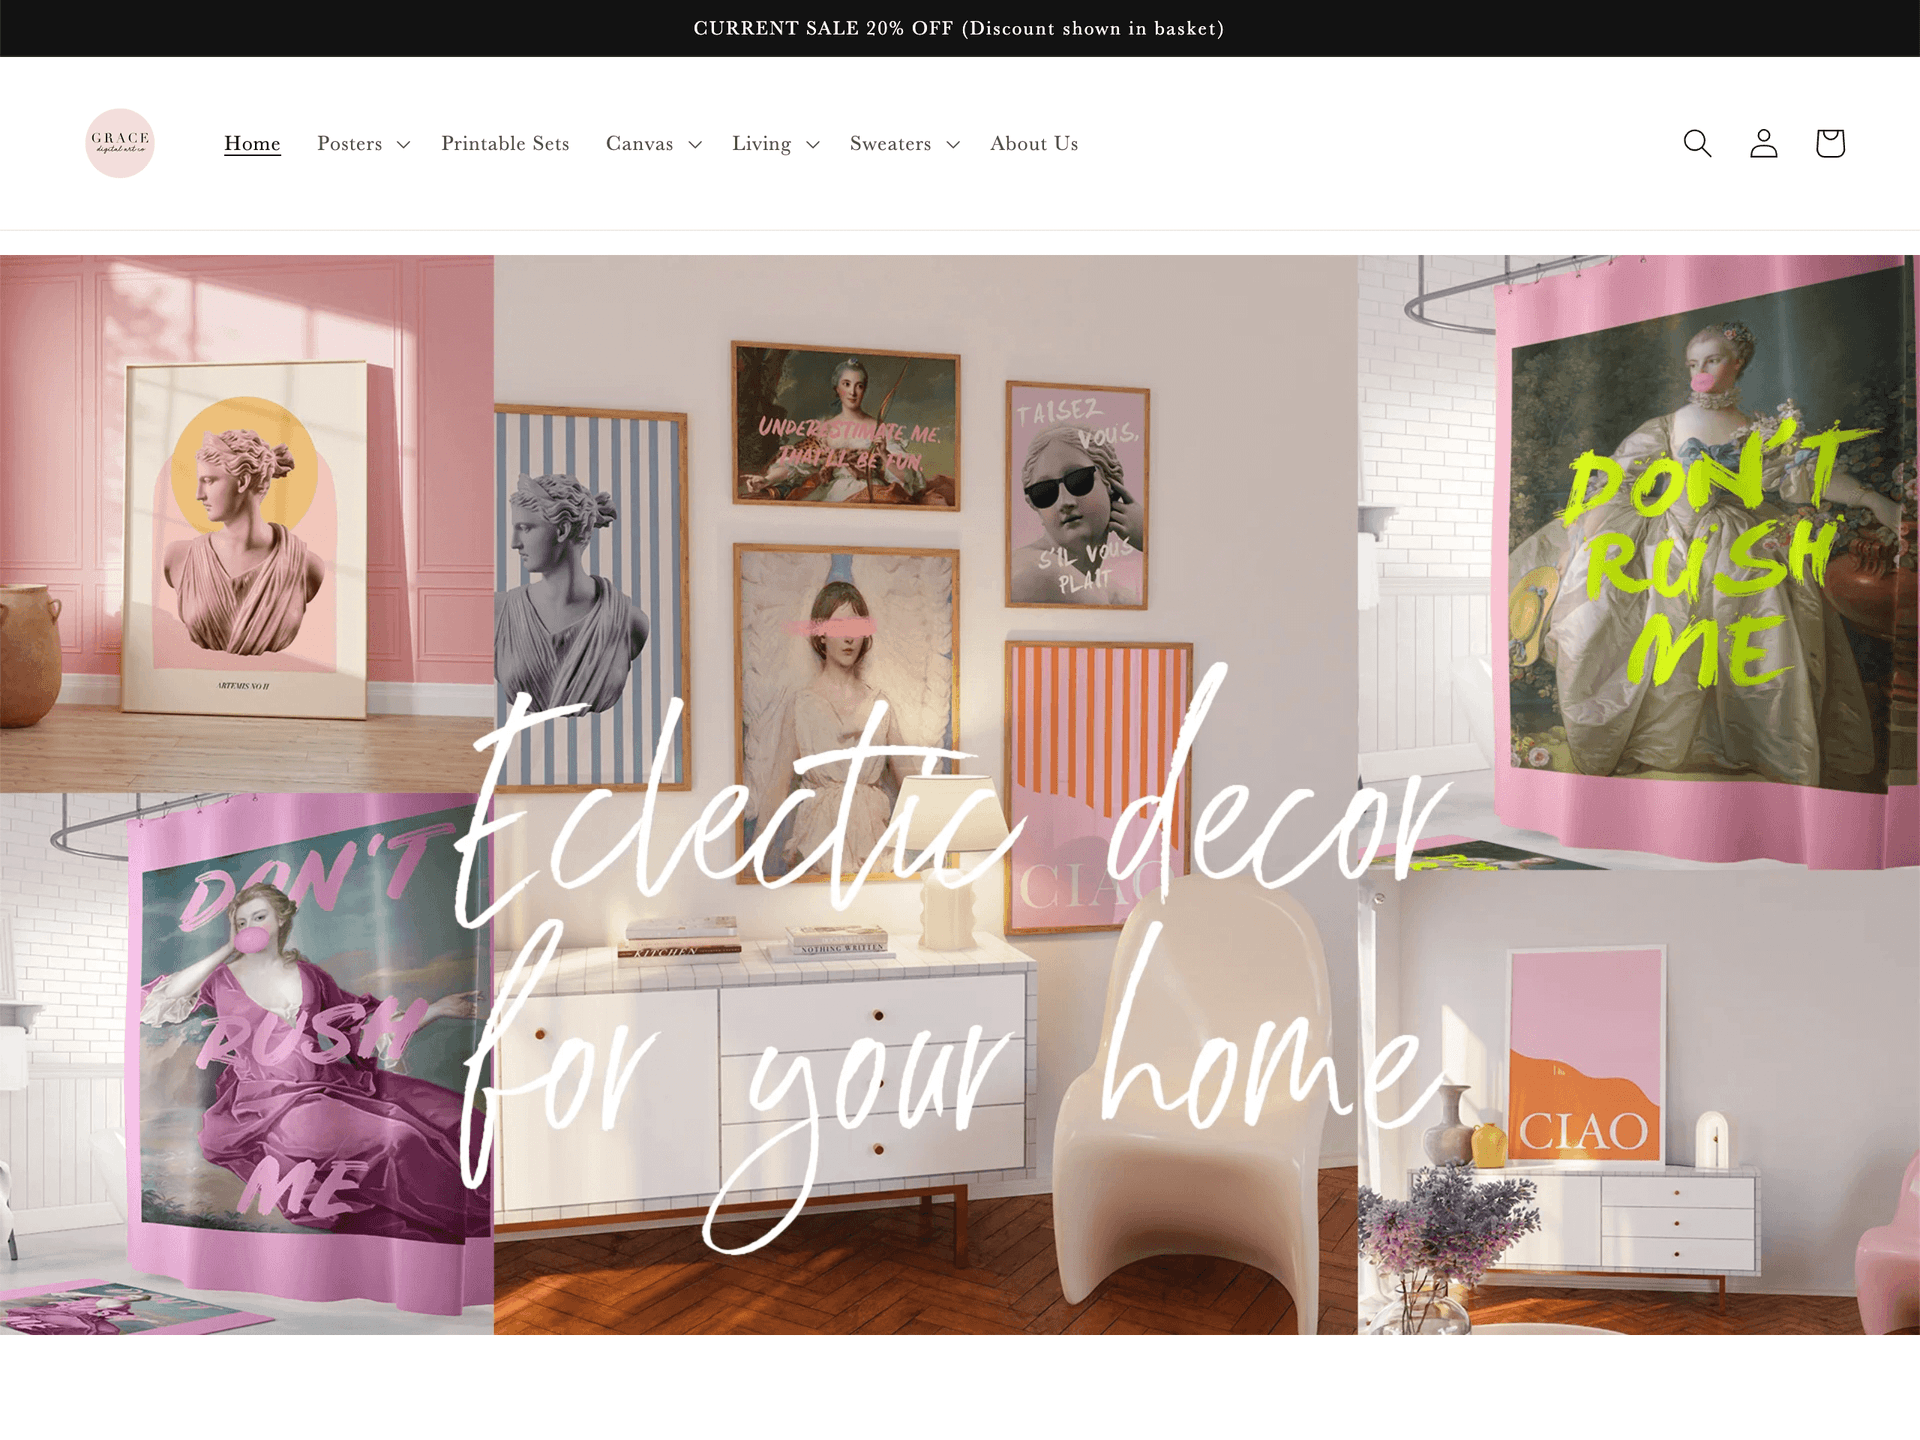
Why Shopify Print-on-Demand Stores With Consistent Mockup Styles Across All Products Get More Repeat Buyers
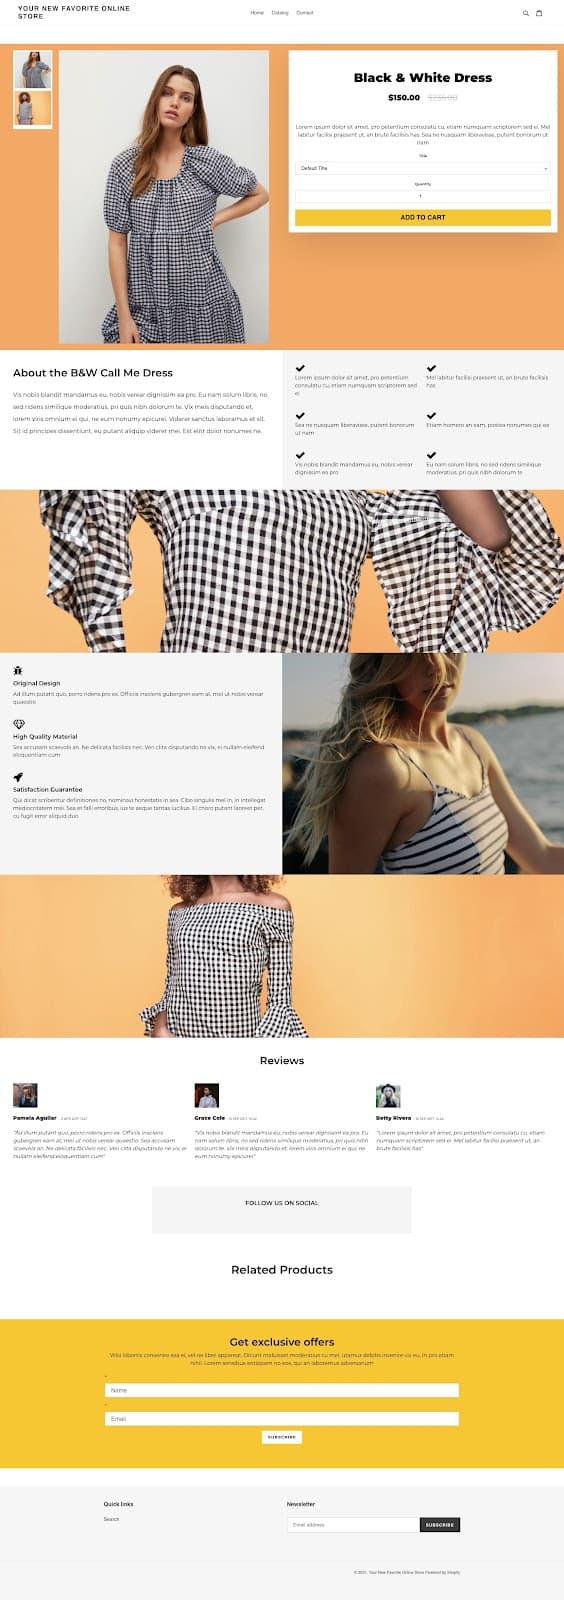
How to Use a Poster Mockup API to Instantly Populate a New Shopify Product Page With All Listing Images on Creation